
The article discusses how to sign up for a free new SharePoint tenant and configure it to test the Diagram Frame web part. No prerequesites required, just the browser basically. This can be useful in case you don’t have admin permissions in your organization but want to try the web part.
As far as I know, Microsoft provides at least two possibilities to get your own (private) SharePoint tenant to play with: first is the Office 365 E3 Trial (valid for one month), the second is developer account you can get here (valid for one year). Here I’ll go with the first option (Office 365 E3 Trial)
Signing up for Microsoft email
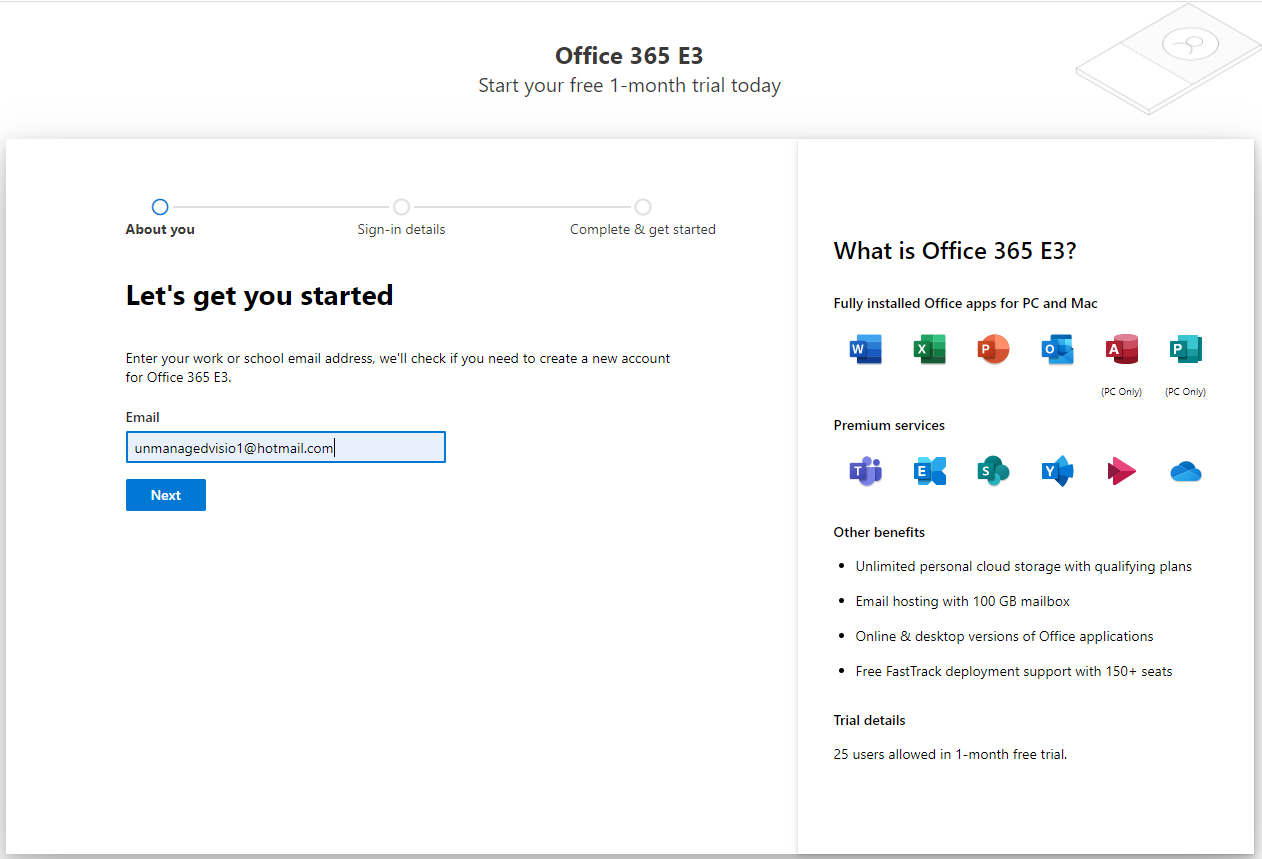
If you do not have any email account (or you do not want to use your email account), you can sign up for one at https://hotmail.com/ for example. For this flow, I’ve signed up for unmanagedvisio1@hotmail.com account.
Signig up for Office 365 Trial
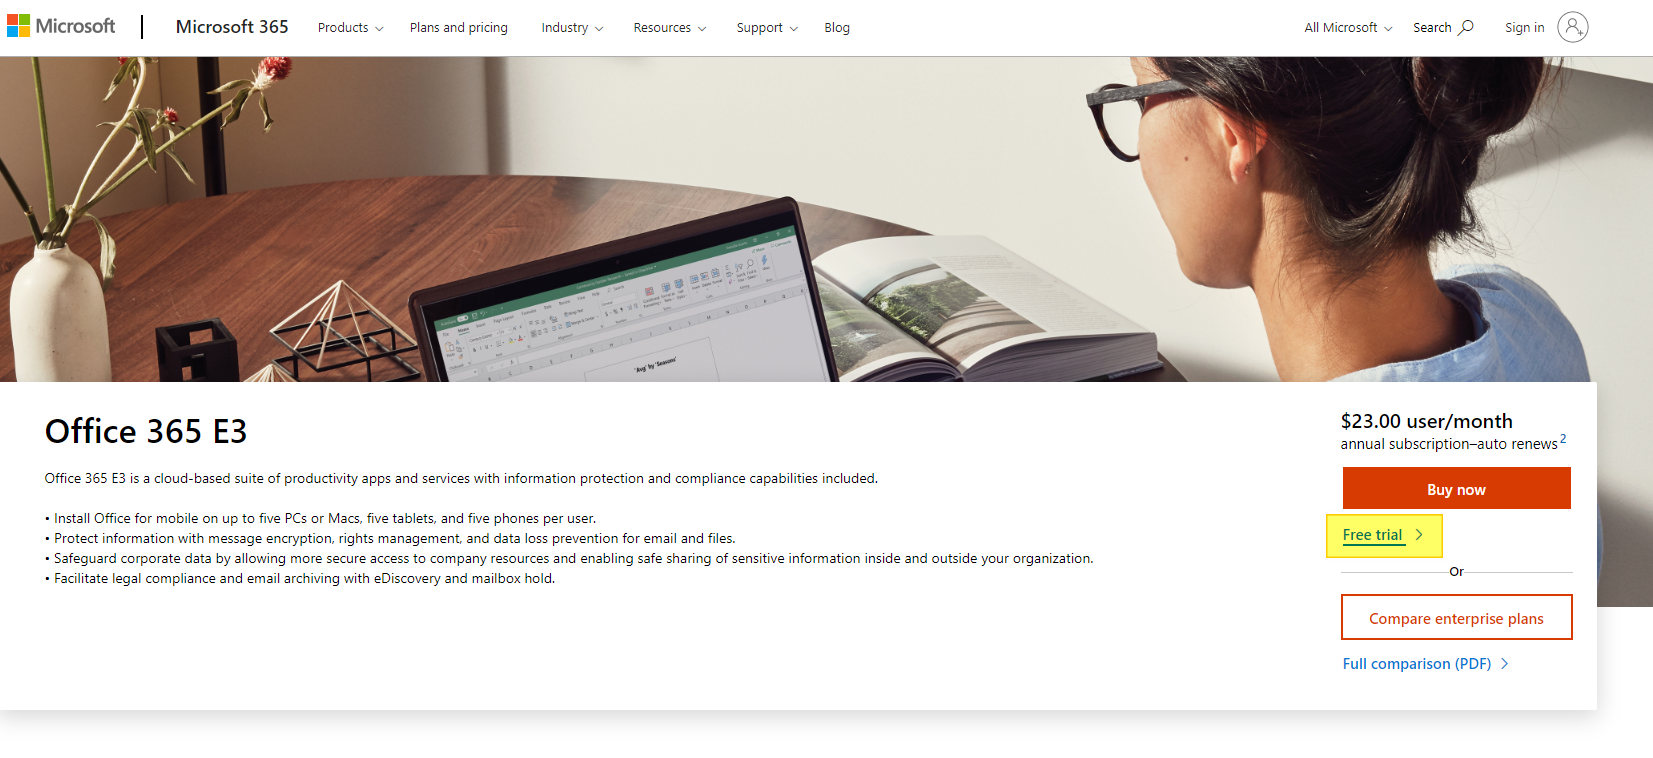
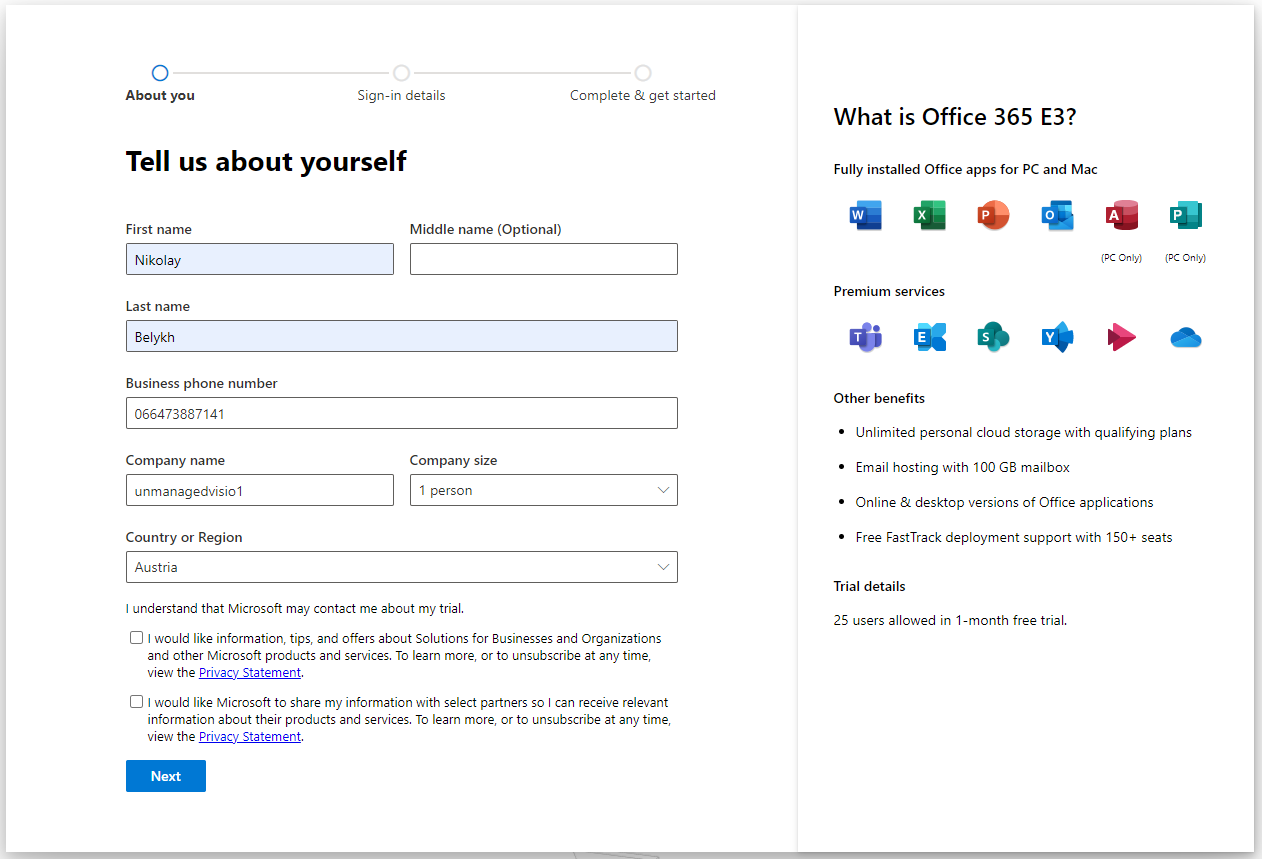
Navigate to the https://www.microsoft.com/en-us/microsoft-365/enterprise/office-365-e3 and sign up using your (possibly newly created) account. You may be asked to create a new organization, just go for it, it’s no harm. The sign up wizard is pretty much straightforward, please refer to the below screenshots. I used "unmanagedvisio1" as tenant name here:
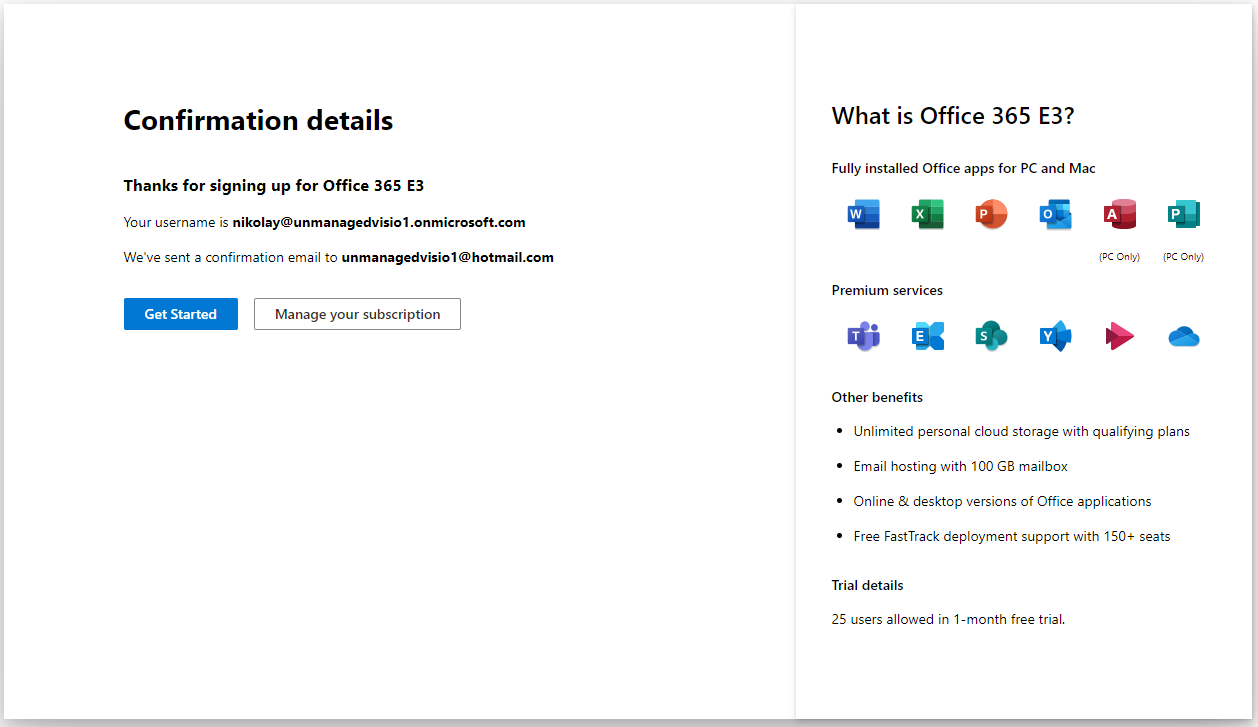
Configuring the SharePoint site
After you signed up for the trial, you’ll be redirected to the setup wizard. Please continue with it. At the step two ("add domain"), select the default domain name:
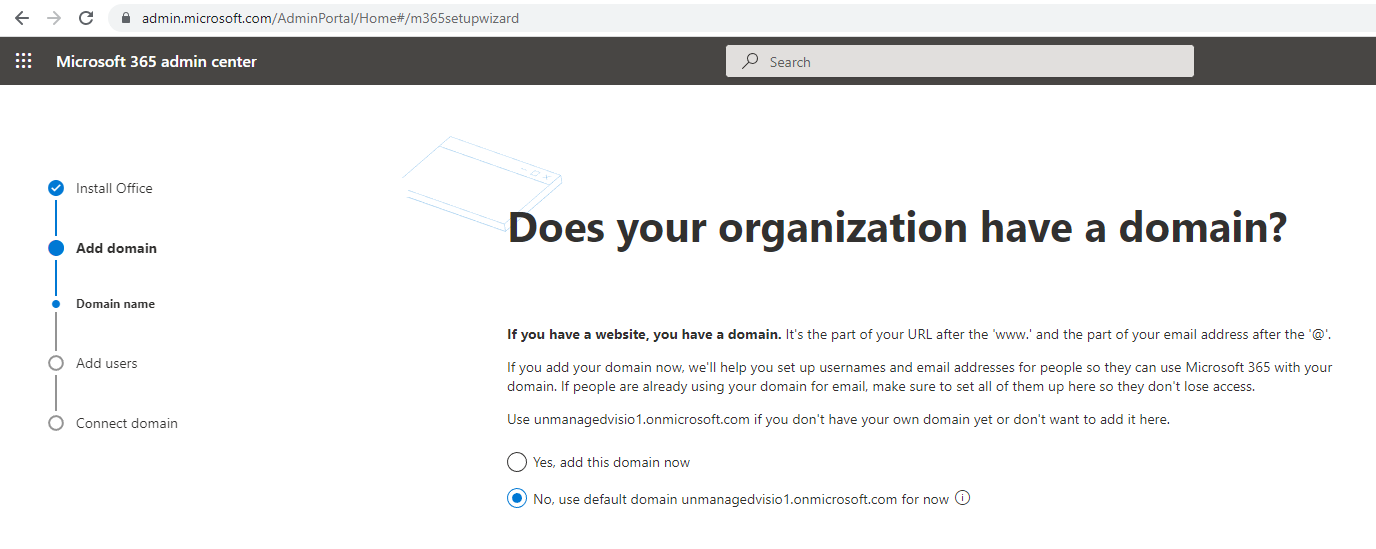
You can skip adding users (you can do this later, and it is not needed for the purpose of testing the web part). Click "Do this later" on the wizard page where you are suggested to add new users.
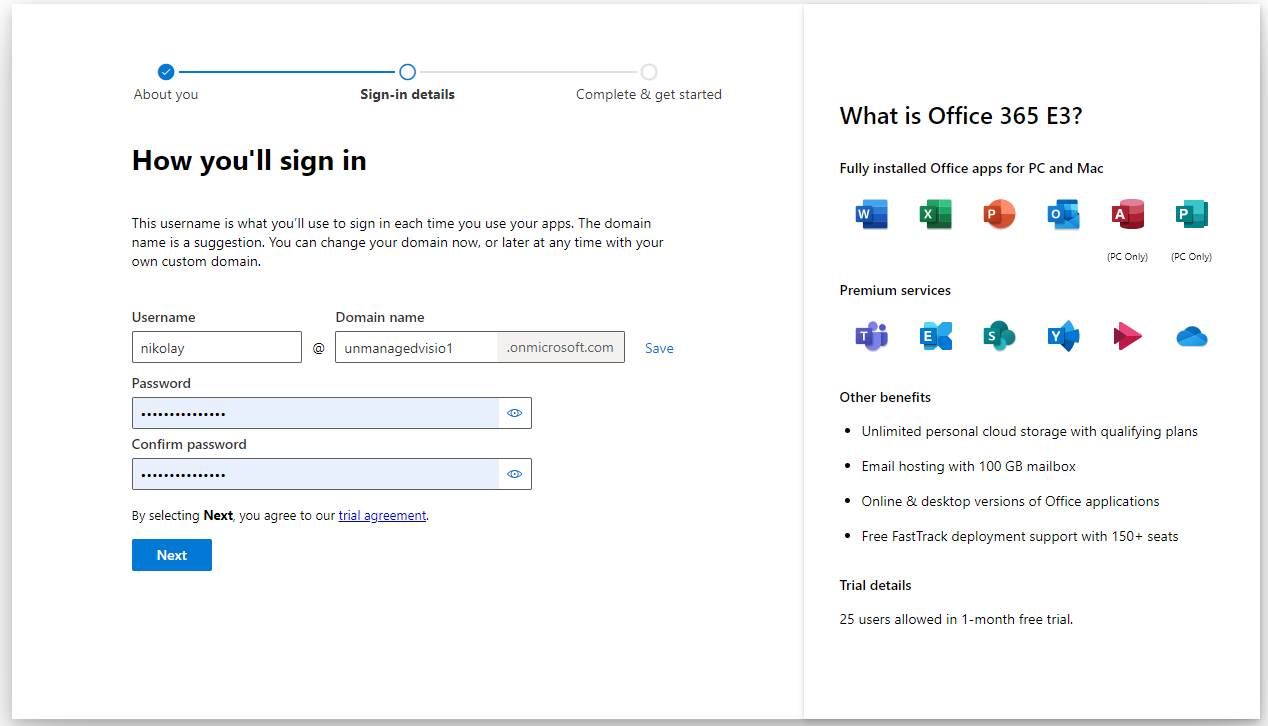
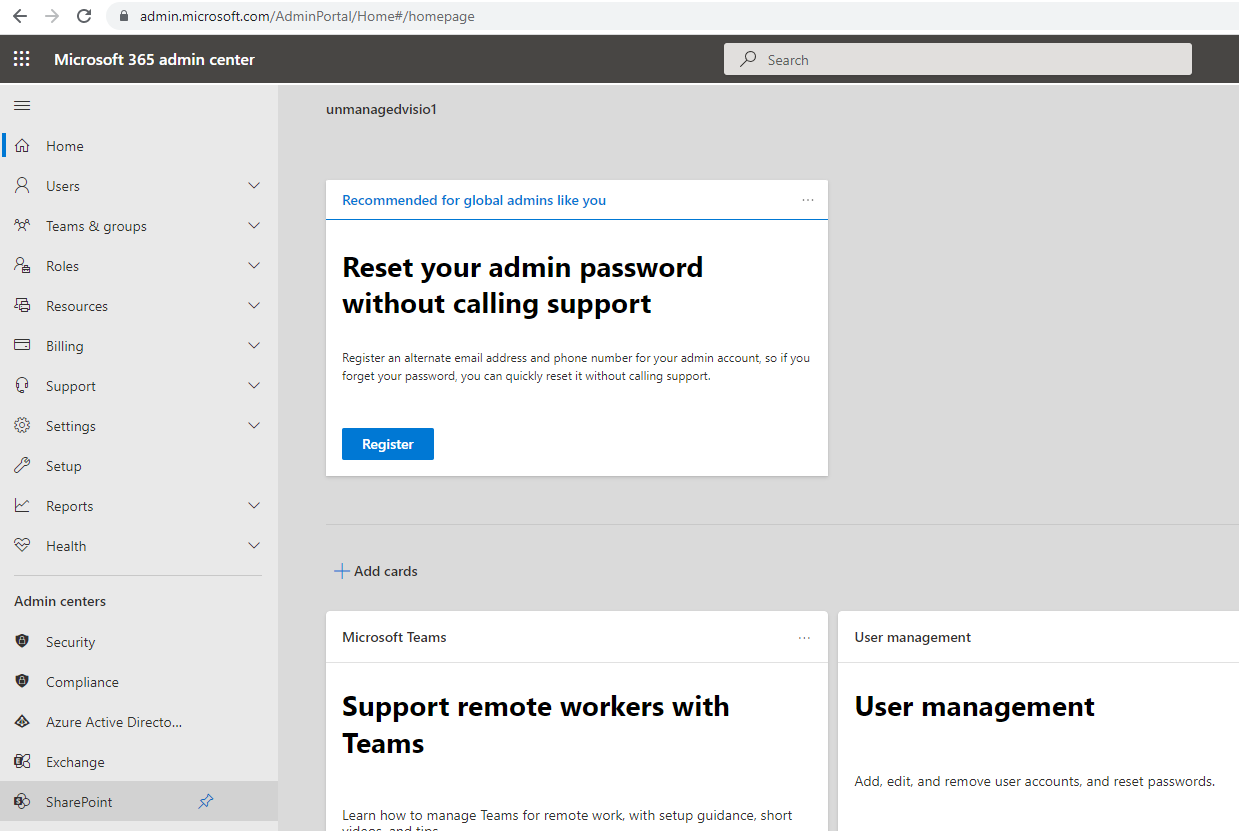
At the end of the wizard you should be redirected to the office 365 admin center: https://admin.microsoft.com/. You can login any time later using the account that have been just created (in my case, nikolay@unmanagedvisio1.onmicrosoft.com). This is the super-admin account for the newly created tenant that can do anything (has all the permissions possible for this tenant)
The main Office 365 admin center looks somewhat like below. From there we want to go to SharePoint admin center.
It is a separate site (admin center), specific to managing your newly created SharePoint Online tenant. In my case, it is located at the url https://unmanagedvisio1-admin.sharepoint.com/. In your case, it depends on the name you have given to your demo tenant.
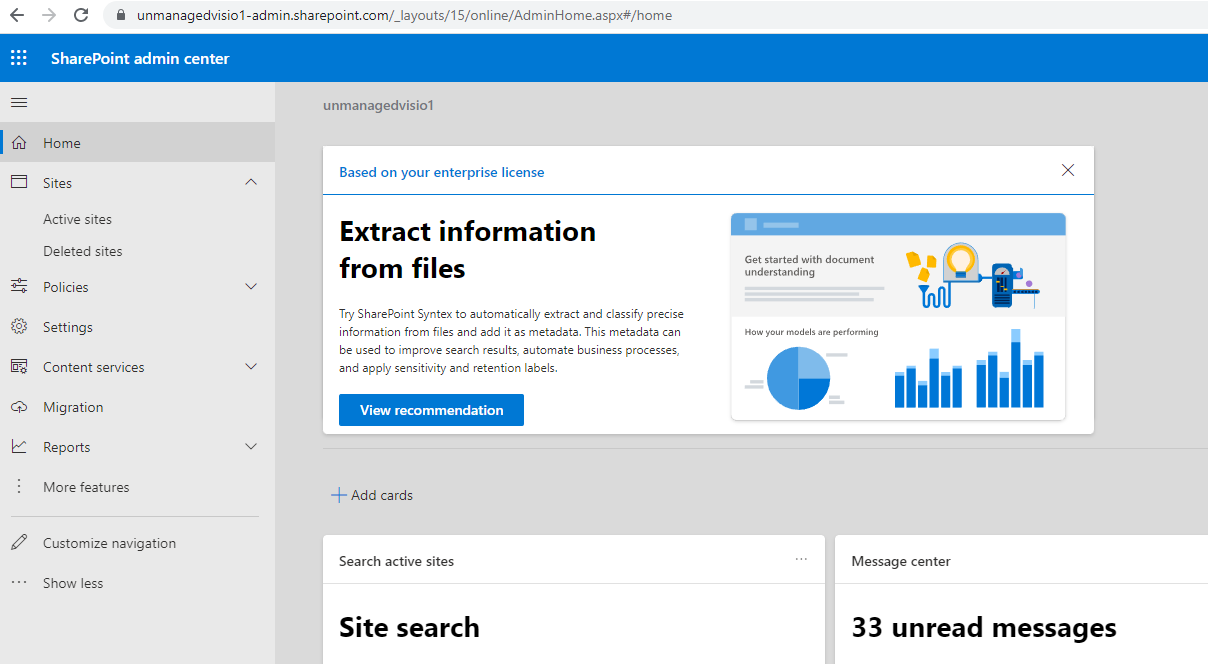
From there, go to App Catalog. Click "More Features" on the sidebar, and then "Apps":
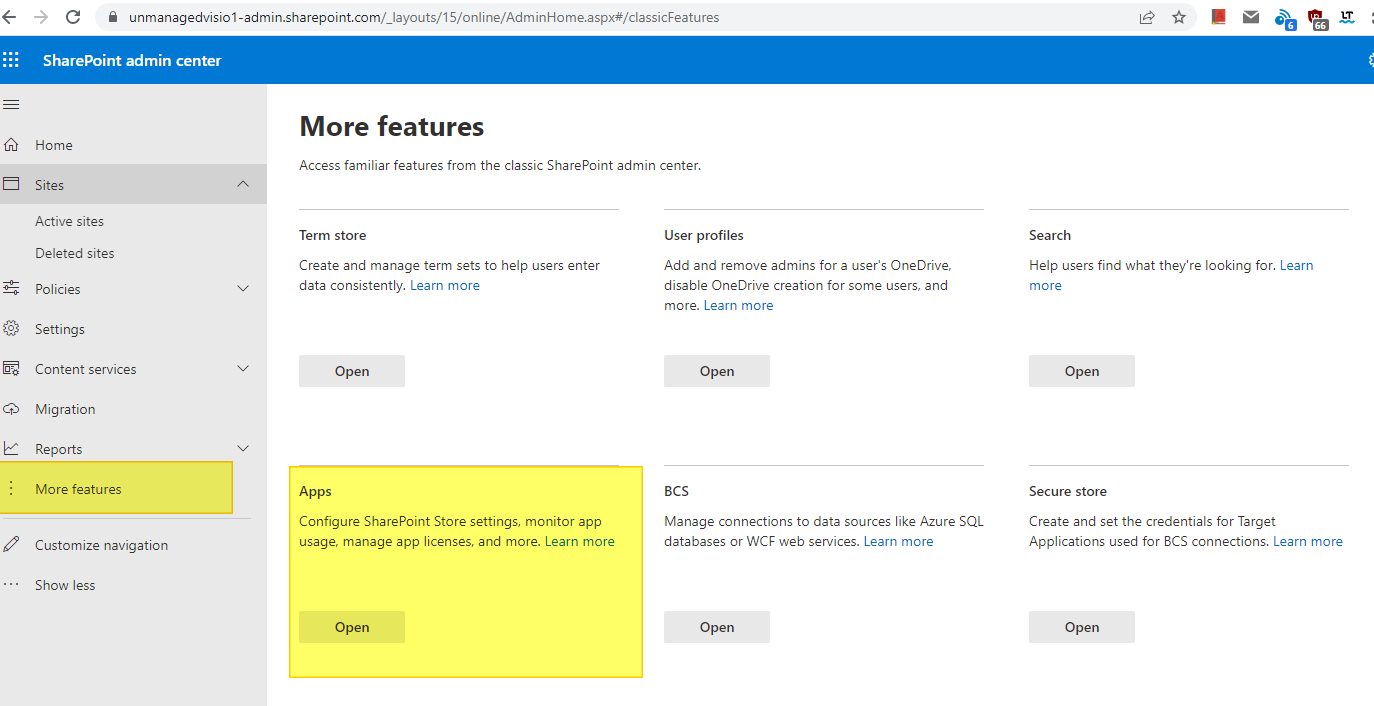
When you click that for the first time, it may take a while to open, because SharePoint will configure the site to allow the applications. Be patient, it should end after a minute or so. This is the place where all third-party apps land (such as Diagram Frame web part).

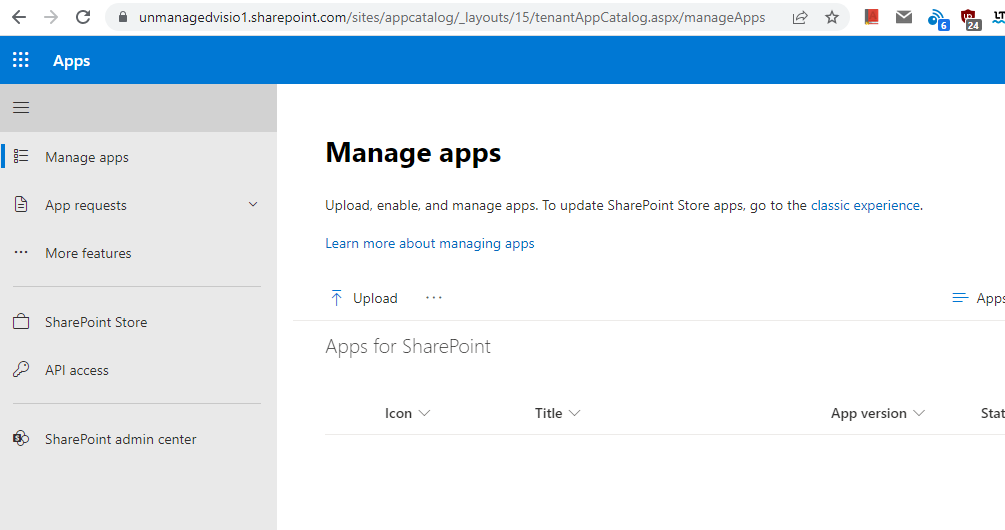
This is what you should see when it’s finally configured:
Installing the Diagram Frame app.
Now, we are ready now to install the app 🙂
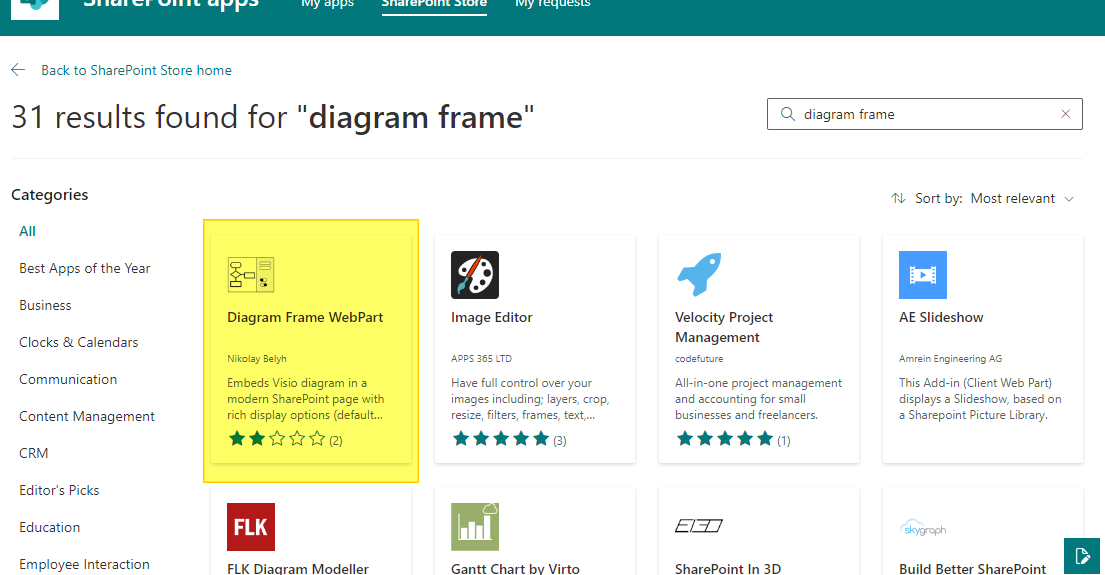
As an admin, it should be pretty much straightforward. Go to the SharePoint Store (click the button on the sidebar), and look for the Diagram Frame web part:
Open the web part, and click "Add to app catalog":

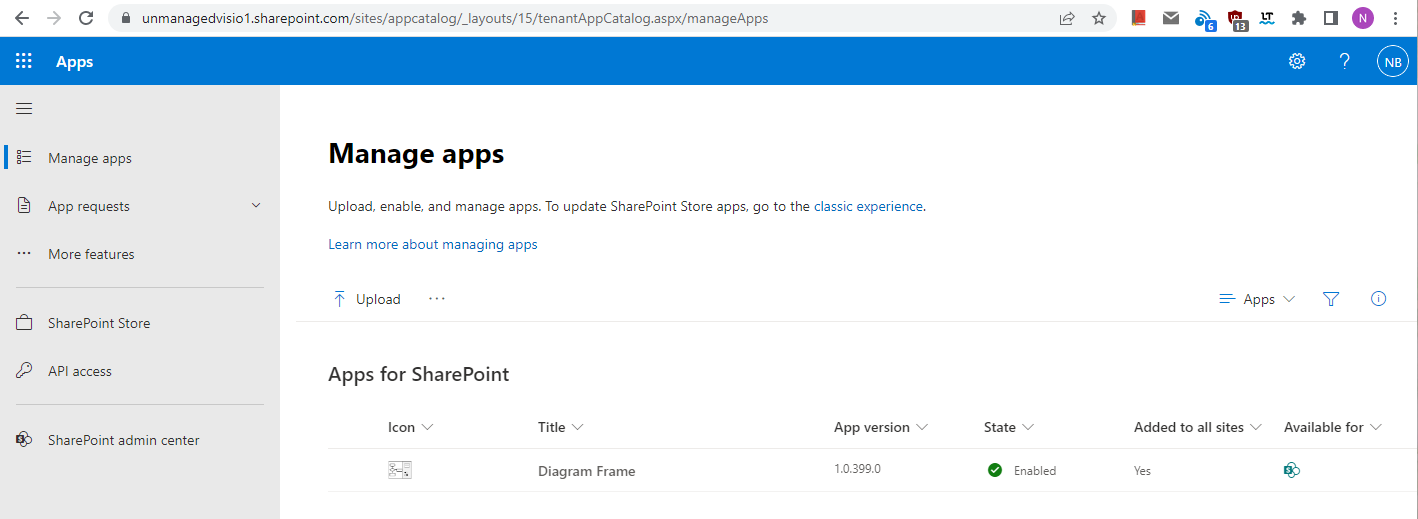
Leave the default "Enable this app add it to all sites". This will activate the app for all sites (currently there should be only one, the root site, so it does not really matter). When the app is added, the app catalog should look somewhat like below. And this basically concludes the installation 🙂
Adding web part to a page.
To use the web part, we need a page. We can just edit the home page for example for testing. Navigate to your home page (in my case it is https://unmanagedvisio1.sharepoint.com/), in your case it should be
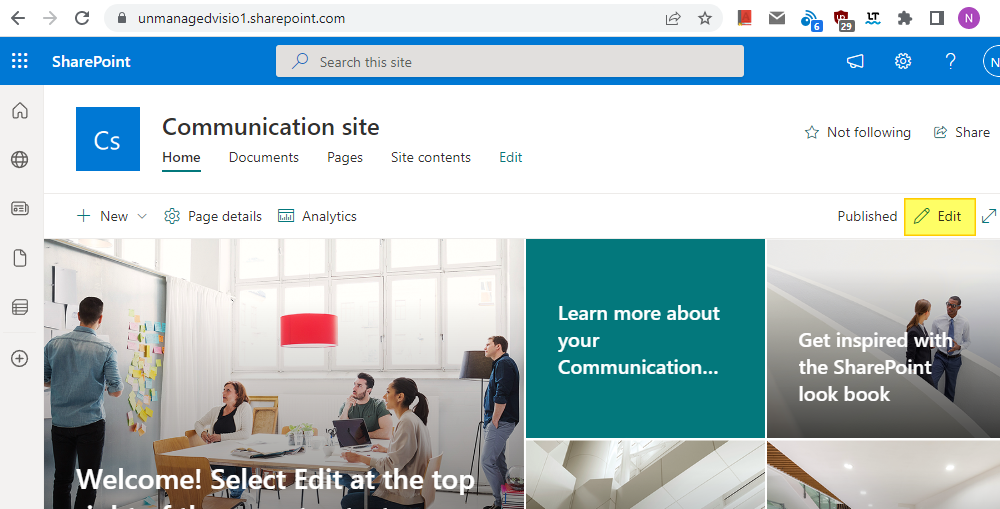
For clarity, I have just deleted everything (all default demo content) from the page.
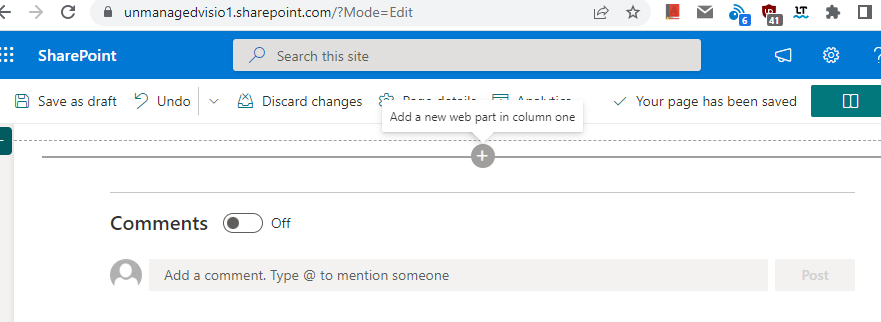
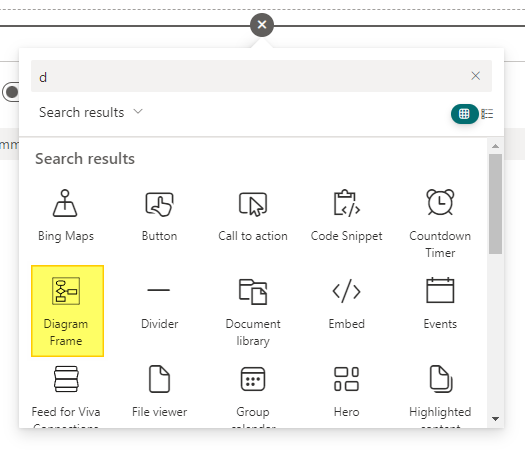
Now to add the web part, you should click the "+" sign in the center to add a new web part to the page. The Diagram Frame web part should appear in the list:
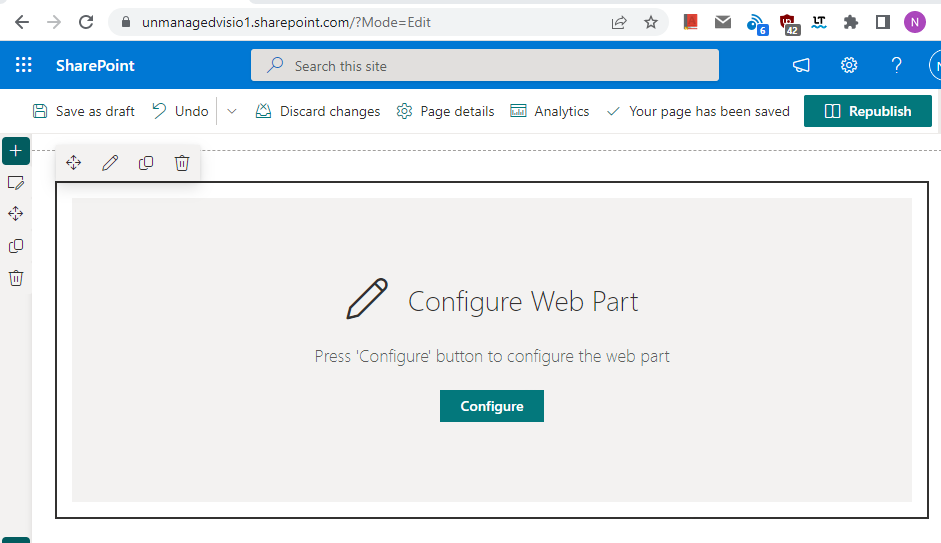
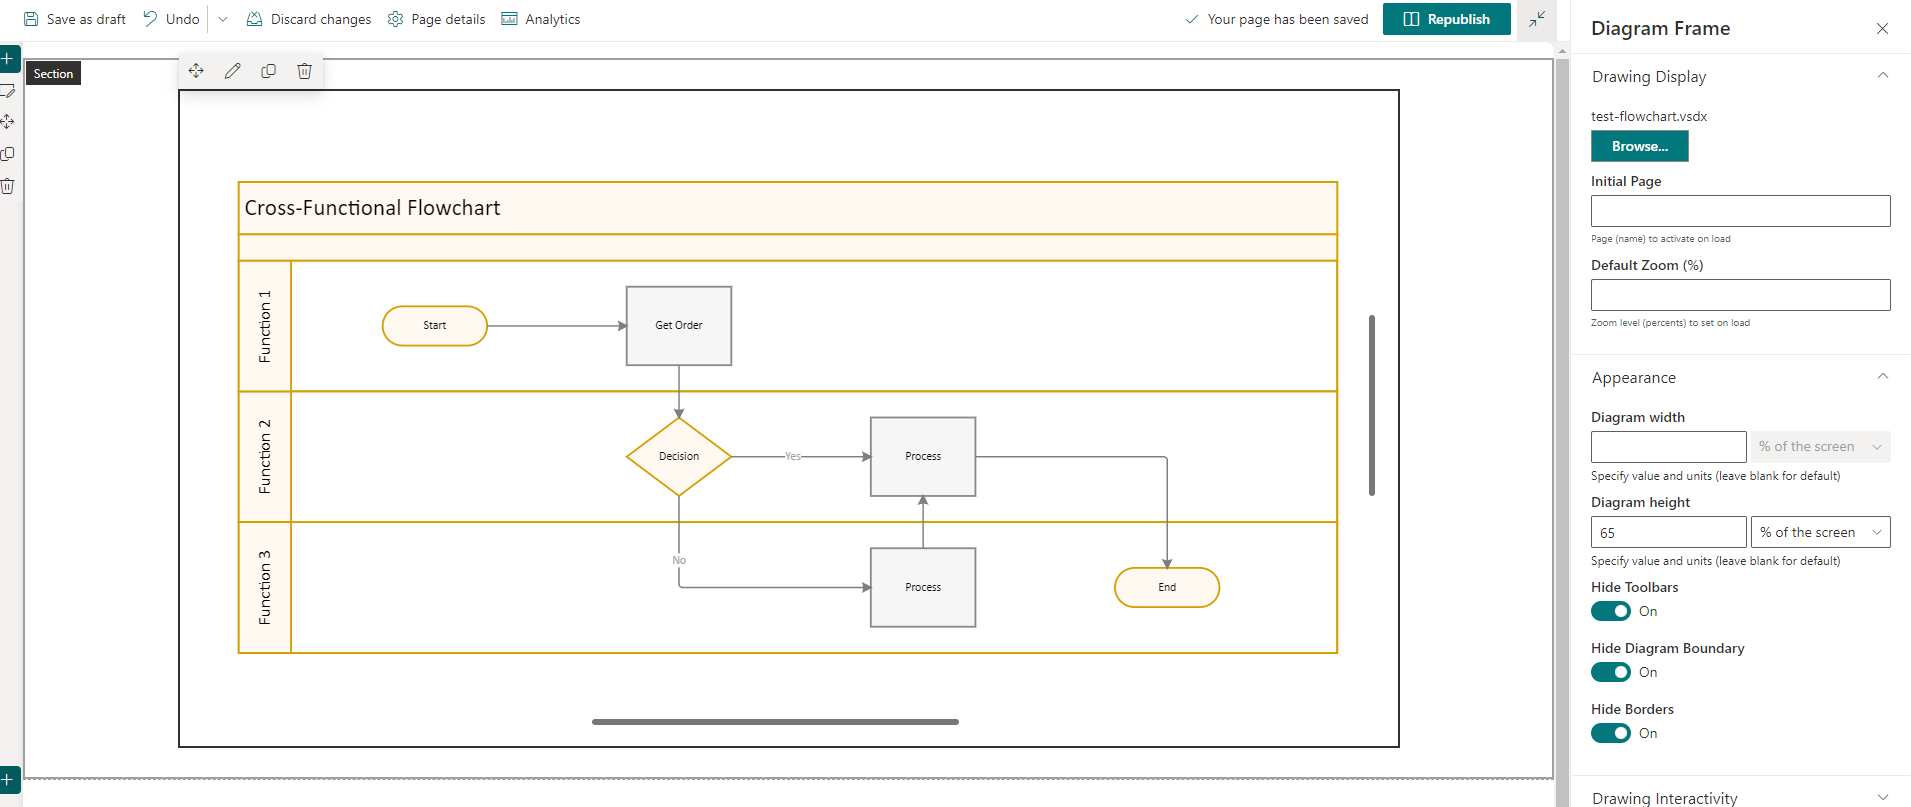
Then you need to pick some Visio file to show in the diagram frame. Click on "Configure" and the browse for the file. That should be it. The web part should be functional. To test, try turning off borders for example or toolbars:
I appreciate all the feedback and contributions at the https://github.com/nbelyh/VisioOnlineSpfxWebPart/issues